2025 Fall Donations: Giving Back to the Local Community
By Katherine Placzek
November is the month where humans best emulate nature-we participate in the magic of giving without the expectation of receiving in return. I hope you all find abundance in your lives, and pass it along to others in small and big ways.
This fall, Rick’s Garden Center donated over $22,000 worth of trees and shrubs to local organizations that benefit the Colorado Springs community. Read on as we highlight their missions. Maybe you can find a way to support their mission or be inspired to find another non-profit group you can volunteer at, or share your monetary gifts. Rick’s vision has always been to help beautify El Paso County and beyond with plants. What is yours?
Mountain Song Community School
An elementary and middle school (grades K through 8), Mountain Song Community School, is a public school that is also a member of the Alliance for Public Waldorf Education. The Waldorf model nurtures the body, mind, and heart of each student. Mountain Song’s curriculum also includes the Agricultural Arts- something Rick’s Garden Center can get behind! Our donation helped further build the berry and native plant portions of their gardens. You can check them out here: Click here!
Flying Pig Farm
Flying Pig Farm is an educational farm located in Manitou Springs. They “… nourish our community and the land we steward by hosting school and community groups and events, facilitating workshops, supporting community gardens, consulting and collaborating with partners, cooking and sharing food, promoting creative expression, holding seasonal festivals, and advocating for healthy relationships with people and the planet.” What a cool mission! They consistently create exciting new community events and educate the local population of all ages about agriculture and self-sustaining techniques. Our donation helped build a “fledgling hedgerow” to offer further privacy and a noise barrier on the farm property. Please check out their programming here: Click here!
TESSA of Colorado Springs
TESSA offers immediate safety for victims of abuse. They have safehouses for women, children, and other victims. They empower and support these individuals while helping them build a safer future. They have several sister programs and are an important part of our community in Colorado Springs. We were able to help re-landscape a portion of their office outdoor space to feel welcoming, but still safe. TESSA provides space for victims to know they are worthy of goodness. This donation will allow them to know they are worthy of beautiful things. Support them in their brave mission: Click here!
Rock Ledge Ranch (in Partnership with the CSU Extension Office)
The Rock Ledge Ranch is a historic ranch, and park at the cusp of the Garden of the Gods Park. They have educational programming while maintaining historic grounds. The CSU Extension is working with them to rehabilitate soil and build a historically authentic greenhouse that will further their educational offerings. We were able to donate native trees/shrubs as well as berry bushes that will help make their grounds feel appropriate to the time, while continuing to support the vision of soil restoration. To support their continued efforts in raising money for the greenhouse construction and to attend their programs, head here: Click here!
Colorado Springs City Horticulture Department and Forestry Department
Our city runs on the funds from the local sales tax. When consumers slow buying, or there is a dip in tourism, like we saw this summer, that revenue becomes strained for our local city departments. Some departments are beginning to see budget cuts or hiring freezes. We were able to help both the Colorado Springs City Horticultural Department and Forestry Department. They both obtained trees/shrubs for beautifying our city and community spaces. Berry bushes and grapevines will be planted in community gardens, and shrubs and trees will find homes in parks, medians, and other public recreation spaces. Check out the City of Colorado Springs website here: Click here!

The Short & Sweet Fall Bulb Guide
Fall bulbs, also known as hardy bulbs, are always much anticipated in the garden center. Capable of surviving (and often requiring) cold, through the gloom of winter, hardy bulbs provide beautiful early spring flowers! Compared to tender bulbs like dahlias, gladiolus, and begonias, hardy bulbs are easier to work with and rarely need to be dug up for storage. However, like with all plants, they do benefit from a little help. In this article, we’ll talk about how to best care for fall bulbs!
Selecting A Site
Before choosing any bulbs, we recommend selecting a planting site first, as this is a major contributor to their survival. Bulbs given a poor growing site aren’t given the best situation to survive over winter. Soil quality, drainage, light availability, and soil richness should all be considered for bulb planting. The most important aspect for bulbs is aerated soil (CSU Extension). Dense soil will retain water and prevent root displacement, causing rot or bulbs to over-exert their energy. Aeration can be done by digging up the area and adding organic material to not only enrich the soil but also increase porosity, allowing water and air to flow freely. If your soil bears heavy clay, we recommend using EKO Clay Buster, Tree & Shrub Mix, or humus. Avoid animal manure, as this can burn bulbs unless evenly distributed after planting to act as fertilizer.
Light is essential for bulbs, but depending on placement, it can cause disruptions in dormancy. Avoid planting hardy bulbs close to a southern-exposed foundation, as the heat can wake bulbs early and cause death (CSU Extension). Likewise, hardy bulbs need general amounts of sunlight, about 8 hours per day. Avoid planting bulbs in total shade. You cannot count on the sun to insulate bulbs. After planting bulbs and especially after the first freeze, it’s recommended to apply mulch over the area to keep in extra heat (CSU Extension). Cedar mulch works best, but any fine mulch will do. Using shredded leaf mulch is also excellent as it will return nitrogen to the soil and feed the bulbs over winter. Avoid places where high wind tears through or where frost collects (UM Extension).
Colorado soil contains poor nutrients, so planting bulbs with bulb fertilizer is a wise idea. Pick a bulb-centered fertilizer, like Espoma Bulb-Tone, as it will provide the ideal amounts of Nitrogen, Phosphorus, Potassium, and additional minerals over winter and into spring. Oftentimes, it’s recommended to plant this fertilizer into the hole for the bulbs. Manure can be laid over the bulbs after planting to act as fertilizer, but only after the bulbs have been buried. Mulch will be laid on top, so think of it as an earthen lasagna in a way. Bulb, soil, manure, mulch. As snow soaks into the ground over winter, the manure’s nutrients are absorbed into the soil and, in turn, absorbed by the bulb.
Picking Bulbs
Hardy bulbs are designed to survive long winters. They contain nutrients to keep the plant alive for months and even require cold in order to break dormancy (University of Minnesota). There is thus a direct correlation between the size of a bulb and eventual flower size, as the larger the bulb, the better and bigger the flower due to stored nutrients (CSU Extension). Choose firm bulbs, as squishy textures or mold signify poor health. The best bulbs are chosen from open-air containers, not packets (CSU Extension). There are exceptions, as if packages have air holes to increase circulation.
Bulb Depth
Bulb species determine appropriate soil depth and spacing. Larger bulbs demand more space and depth. Tulips and daffodils, for example, are considered to be large hardy bulbs. They can be spaced 4 to 6 inches apart, while small bulbs can be spaced 1 to 3 inches apart (CSU Extension). A general rule for bulb planting depth is “four times the height of the bulb between soil surface and tip of the bulb” (CSU Extension). Bulb distributors often have fact sheets or planting guides attached to or on bulb packaging. If provided, it’s recommended to follow those instructions for each varying bulb species.
When you’re planting bulbs, make sure to place the bulb within its hole with the pointed end facing up towards the sky (University of Minnesota Extension). Not doing so will cause the bulb to grow in the wrong direction and eventually die. Planting should be done in September to allow ample root growth to form before fully going dormant, but October is sufficient(CSU Extension). The earlier they’re planted, the longer they have to establish. After planting, water the bulbs to allow them to settle and get a drink after their long travels from the farm to your garden (University of Minnesota Extension). Snow and rain are expected to water the garden throughout the year however Colorado often has dry winters. The occasional soak throughout the winter months will greatly benefit your bulbs (CSU Extension). If bulbs sprout prematurely, simply prune them back.
About Garlic
How does garlic differ from hardy bulbs? In all honesty, hardly at all! Garlic too is a hardy bulb, though obviously its not flowers you’re after, but the cloves. There are two “types” of garlic, hardneck and softneck garlic. Hardneck garlic is typically larger and more flavorful, sometimes even spicy! Hardneck garlic varieties include Meteichi and Rocambole. Hardnecks are also the hardiest of the hardy and thrive in our winter climate. Softneck garlic is the more commonly found garlic in supermarkets and has a milder flavor. They have a longer shelf life than hardneck varieties but aren’t too winter hardy, preferring mild winter weather. Softneck garlic includes Pueblo Early and Inchelium Red.
Applying more fertilizer to the garlic is really the only difference compared to fall flower bulbs, as the more food garlic is fed, the larger the cloves you’ll get! We recommend keeping the fertilizer organic, as synthetic fertilizer isn’t always the best to ingest—even if its absorbed through the plant. You might also want to plant garlic in mid-October rather than September so as not to prematurely wake it (Denver Urban Gardens).
Sources Used:
Colorado State Extension: CLICK HERE!
Denver Urban Gardens: CLICK HERE!
University of Minnesota: CLICK HERE!

Tool Care Guide
Fall is here! This is a bittersweet moment for me. Harvest has hit its finale, and I am beginning to accumulate a stack of books that will keep me growing while my garden begins to take a snooze. Before I cozy up on the couch, and have a cup of tea- I always take care of my end-of-season garden tool maintenance. Garden tools should have regular TLC, especially after use, but in reality, this may not happen. I will detail daily care at the end of this article for your convenience.
End-of-Season Garden Tool Maintenance:
Deep Clean and Oil Pruners:
This is imperative to reduce disease and rust on your snippers, prolonging their use.
- Pruners should be taken apart and deep cleaned at least once each season.
- Unscrew any nuts/ bolts that hold the pruners together.
- Wash all parts separately in soapy water.
- Soak all parts in vinegar, then rinse with water.
- Rub with steel wool to remove any rust, then rinse and dry.
- Soak in diluted bleach water to sanitize, then rinse and dry.
- Buff with linseed oil and reassemble.
Sharpening:
Both pruners and Hori knives, as well as long-handled tools (hoes and shovels), need to be sharpened every season. Keeping pruners sharp helps produce clean cuts on plants, reducing the entry of any disease. Other tools benefit from a sharpening, making your life much easier. Digging a hole to plant with a dull shovel is no fun!
- Anything you are going to sharpen should be cleaned first. Long-handled tools may not need the vinegar/ bleach/ oil treatment unless there are concerns about rust.
- Push the sharpening file in the same direction across the blade and follow the original blade angle. Do not rub the file or stone back and forth, this does not sharpen but dulls the blade further.
- Smooth these newly filed edges with a sharpening stone.
- We recommend wearing eye protection and gloves when sharpening to protect against metal slivers.
Care for Wood Handles:
With long-handled tools, it is important to take care of wood handles. Utilize durable tape (think athletic tape or other heavy-duty tape) for minor cracks. Anything that is more compromised should be replaced immediately to prevent injury.
- Wipe down the handles with a damp cloth.
- Inspect for cracks or any weak spots between the handle and the tool head. Address with durable tape or replace the wooden handle if damaged.
- If needed, lightly sand the handle to smooth splinters, and rub linseed oil to condition.
Daily Garden Tool Care (when you have time!):
Generalized care:
- Rinse any digging tools, then use a wire brush or something similar to get rid of any stuck dirt or debris.
- Scrub snippers down with a brush and soapy water.
- If any tools were used with diseased plants or infected soil, make sure you disinfect them before any other use. Soak the infected tools in a diluted solution of 2 cups of bleach mixed with 1 gallon of water. Then rinse in plain water, and follow with a generous wipe of rubbing alcohol.
- Before storing tools, rub them dry with a rag.
- To help prevent rust on digging tools, mix a bucket of sand with plant-based oil, like linseed oil (avoid any petroleum oils, as this reduces plant vitality). The sand should be damp with oil, but not wet. Plunge any blades, tines, or teeth into the sand a few times for a quick clean, or do this following regular maintenance once the tools have been wiped dry.
- Store your tools in a dry and well-ventilated place. Small hand tools can be stored directly in a dry bucket of sand or gravel, and larger tools should be hung so as not to dull their blades in a mad scramble.
Removing Sap:
- Wipe blades with a rag dipped in mineral spirits or turpentine.
- Submerge and clean the blades in soapy water. Rinse and then wipe with linseed oil.
Preventing and Removing Rust:
- Soak any tools showing signs of rust in a 50/50 mixture of vinegar and water overnight.
- Scrub the affected areas with steel wool.
- First, wash in soapy water, and then rinse.
- Rub dry and then buff with linseed or a mineral oil.
All tool maintenance requires is a little elbow grease and time. Sometimes we neglect our tools throughout the season, but I can tell you the reward of pulling out a clean, sharp, and shiny tool in the spring never ceases to make me smile. Happy fall, everyone!
New School Fall Gardening Stretegies
By Katherine Placzek
With fall approaching, many of you are getting ready to put your garden beds and other portions of the landscape to bed. With a more eco-friendly mindset, we would like to suggest a couple of tweaks to your typical routine.
Old school: Raking and bagging leaves, tossing them out for the trash.
New school: Rake leaves from below trees, and use them as mulch around your perennials, shrubs, or on top of your vegetable garden beds. You can also run these over with a lawn mower to mulch them into your grass.
Why: Organic matter, including yard waste, is the most prolific item in United States landfills. Consequently, this unsustainable practice directly contributes to greenhouse gas emissions. Conversely, organic material returned to the soil reduces your environmental impact while providing a useful garden resource. These local sources of organic material and nutrition (from your own yard’s leaves) will feed and insulate your yard all winter long! Decomposing leaf matter enriches the soil, adding carbon and nitrogen to the soil, while plants “sleep.” Leaves also create safe places for native bees and other pollinators. Did you know that almost three-fourths of Colorado’s native bees nest and overwinter underground? Tip: Deeply water the leaf litter in after it has been placed. This creates a wet decomposing mat that will not blow away as easily.
If you have excess leaves that you are not going to be using, please feel free to bring your bagged leaves by our nursery gate (located at 600 N. 18th St. Colorado Springs, CO 80904). This is a community pile that other members come to gather for their own gardening usage.
Old School: Trim any perennials and remove them before the first snow.
New School: Leave all of your woody stalks, leaf matter, and ornamental grasses all winter long!
Why: This allows for winter interest and provides shelter for any hibernating insects. This is especially true for native plants that act as habitat for many native and beneficial insects. Larger life forms, including birds and mammals, will also benefit from grass seed heads left standing, and other plants that provide shelter in the harshest months. If this is unsightly for you, trim your plants, but leave the stems and other leaf matter on the ground to help create shelter throughout the winter. When soil temperature has reached 50 degrees Fahrenheit it’s the preferred time to begin trimming these perennials in the spring, after many insects have completed their wintering cycle.
Old School: Let the winter snows water your outdoor plants.
New School: Water trees, shrubs, and perennials on nice days throughout the winter.
Why: Unfortunately Colorado Springs does not get enough reliable winter moisture to overwinter many plants. This is especially true for newer plants that do not have an established root system yet. Many trees and shrubs, even those that are well-established, should continue to be watered on warm winter days from October through March. When it gets up to 40 degrees Fahrenheit, pull out a hose or dust off your watering can and soak up some of those winter rays, yourself, while you water. Make sure you unhook any hoses after use, as temperatures can cause freezing in the hose bib and other hardware.
Old School: Say goodbye to gardening until spring.
New School: Fall and winter sow, including vegetable and perennial flower seeds.
Why: Many annual vegetables and perennial flowers have a natural cycle where they drop seeds or fruit in the fall. Mimic nature and plant some of your own seeds in the fall to see what comes up earlier and hardier in the spring! In the vegetable garden, this especially works for cold hardy greens. Think spinach, lettuce, arugula, radicchio, etc. For perennial flowers, like wildflowers, it is recommended to put these seeds down in the fall, as many of our native flowers require a cold stratification period. While many people may set up sections in their freezer and fridge for cold stratification processes, direct seeding in the fall eliminates the juggling of space in your fridge/ freezer. Let the ice cream stay where it is!
Old School: Wait until spring to amend any of your garden beds.
New School: Amend your garden beds in the fall so you can plant right away in the spring.
Why: Fall is a good time to test your soil so you know how to amend your beds. Our soils typically fall in the basic pH range here in the greater Colorado Springs area. This can impact how readily available nutrients are to our plants. Do your research and get your soil properly in shape for your spring! Remember that you can also amend with what nature provides; leaves, manure, compost, and other organic matter. These sources do not have a precise N-P-K (macronutrients: nitrogen, phosphorus, potassium), nor spelled out micronutrients (calcium, magnesium, iron, etc) so it is recommended to test your soil in the spring again to see how your soil has changed due to any unregulated organic material. We offer pH and N-P-K, testing in-store, but the CSU extension office also offers a wide range of soil tests.
Now that you know these new school techniques, you might just try other new gardening techniques in the growing season. I know, I know- I am getting ahead of myself! Happy gardening!
Protecting Our Watershed While Gardening & Landscaping
By Katherine Placzek
Every item that we use in our green spaces– fertilizers, pesticides, sprays, powders and granules, etc. all make their way into the water, after it rains or when we water our plants. This means a myriad of compounds, organic and synthetic, are making their way in our or someone’s drinking water. Yes, most of our drinking water is filtered, but this also impacts lakes, streams, aquifers, wells, and other sources of water that can be a habitat for other living organisms, big and small. While this may feel overwhelming initially, we have the power to make little meaningful changes in the way we manage our landscapes.
Lawn and Garden Fertilization
Three things make a difference here. Quantity, quality and timing:
Quantity: When you use fertilizer, always use the instructed amount of fertilizer or a diluted/ lesser amount. This ensures that your plants can take up the applied fertilizer and that excess is not making its way into our waterways. Excess fertilization can stress plants and negatively impact water quality. Over fertilizer use through agriculture, golf course maintenance, and community landscaping have contributed to dead zones in waterways. A dead zone is where all aquatic life ceases to exist. First, expansive algae blooms occur that crowd out sunlight, which choke oxygen out of the environment, causing inhabitable levels for any life, plant or animal. While some dead zones do occur naturally, the second largest one in the world is in the Gulf of Mexico, where many of North America’s waterways meet. This dead zone is widely attributed to human causes.
Quality: When choosing a fertilizer, it is advisable to read the ingredients, similar to reading food labels. If you cannot recognize an ingredient, know it is likely synthetic. Not all things that are human made are bad, but do your research. You may decide that you do not want some of these ingredients in your garage, home, yard, and local ecosystem. This is why Rick’s is proud to continue to carry our Organic Lawn and Garden fertilizers. Both of these are gentle fertilizers, with low nitrogen levels, and contain ingredients such as chicken manure, bone meal and blood meal.
Timing: Never fertilize before a severe rainstorm where run-off can take the majority of your fertilizer downstream. This is also cost prohibitive. If you plan on putting fertilizer down before predicted moisture, consider prior to a snowfall, where the melting snow can bring the fertilizer into the ground gently. Also read the instructions. Many fertilizers recommend a fertilizing schedule. Follow this, or see if you can stretch the schedule out further, to reduce the amount of fertilizer that you have to buy and apply throughout the year. Never fertilize more than what is recommended, this can stress the plant, and excess product will be absorbed into the waterways.
Pesticide Use
Pesticides include insecticides, herbicides, and fungicides. Similar to fertilizing, follow the same wisdom regarding quantity, quality and timing. We have said it before, but just to remind you: “While pesticides are convenient and sometimes necessary especially when mitigating invasive plant species, pesticides negatively impact pollinator numbers…. It is important to remember that while applying control products at night can reduce pesticide exposure to several pollinators/ beneficial species, this does not protect nocturnal pollinators such as moths and bats. When we use pesticides there is no current method that does not negatively affect pollinators or their second tier predators, who are further up the food chain (Excerpt from our March 2024 newsletter).” All of these pesticides reach water sources that are drinking water for pollinators and larger organisms: birds, fish, fox, deer, etc. Many of the chemicals used in popular pesticides, including glyphosate do not break down with water. This means the problem is washed downstream, but never away, and can exist in our waterways indefinitely. Manual removal of weeds is no fun- we all know this. When we choose conventional pesticides, we give up clean water. Limiting the amount of pesticides we use in our yards is one step to keeping our watershed less polluted.
General Maintenance
When you mow your lawn, consider mulching the cut grass instead of bagging it unless you use the cut grass in your compost. Mulched grass that has been chopped by the mower multiple times and is spread evenly over the lawn acts as a wonderful additive of organic material to the soil. This method improves water retention, and overall soil health, decreasing your need for fertilizer. If you mulch the cut grass, but leave large clumps of thatch, this can burn your grass and be swept away into a waterway. This process can act similarly to over fertilization, causing algae blooms downstream. Use the same logic with fall leaves. Mulch leaf litter and either use it on your lawn or in your garden, to add nutrition to the soil. Avoid abandoning leaves in gutters, and storm drains, as it increases excess nitrogen in the watershed. In the winter, make sure you are using a low saline and non-toxic ice melt as well. Water guardianship takes place in all four seasons!
Plant Selection
Finally, the fun stuff! Select plants and grasses for your landscape that are resilient to the Rocky Mountain circumstances. When we do this, we automatically reduce the need for mowing, fertilizing and the use of pesticides. Native plants especially, have been living here in the Colorado landscape much longer than any human lifespan. They have been taking care of themselves without any of our human care measures, such as fertilization, and will continue to do so into the future. I believe that by choosing to plant native plants in a landscape, you are actually simplifying your overall workload in the yard. You will fertilize less, you will use pesticides less, and regarding grass, you will mow less. That means more money in your pocket and more sitting on the back porch, sipping on a cold beverage. Cheers!

Rick’s Deep Freeze Guide
In preparation for our first deep freeze coming this Sunday, Rick’s Garden Center would like to remind our fabulous customers to take some steps beforehand to help your plant friends and tools out.
- Water in outdoor trees, shrubs and perennials and cover root balls with mulch. Do not mulch up to the trunk. Moist soil conducts earth heat better than dry soil. The mulch will help keep in the heat and protect the sensitive root ball.
- Rose bushes, mulch up to the graft union at the base of the rose trunk. You can use a rose collar or just pile up mulch up to and above the graft union. The graft union will look like a bulging area on the main trunk just above the soil line.
- Bring in any tropical plants, cacti or succulents that are not at least a zone 5 inside.
- Check and move any plants that are blown on by heat vents. This will dry out the foliage in no time!
- Outdoor trees, shrubs and perennials planted in pots should be insulated with burlap bags or mulch and placed against a south or west wall of your home. Avoid watering these before the freeze.
- Water in newly established lawns and grass.
- Go ahead and plant those mums you bought in the ground.. They may come back next year!
- Disconnect and drain all hoses and drips lines from spigots
- Cover newly planted bulbs with leaf, needle or straw mulch.
- Blow out that sprinkler system!
- After the freeze, you do not have to pull up all of the dead material, so that pollinators and other insects have a place to overwinter.

Winter Watering on the Front Range
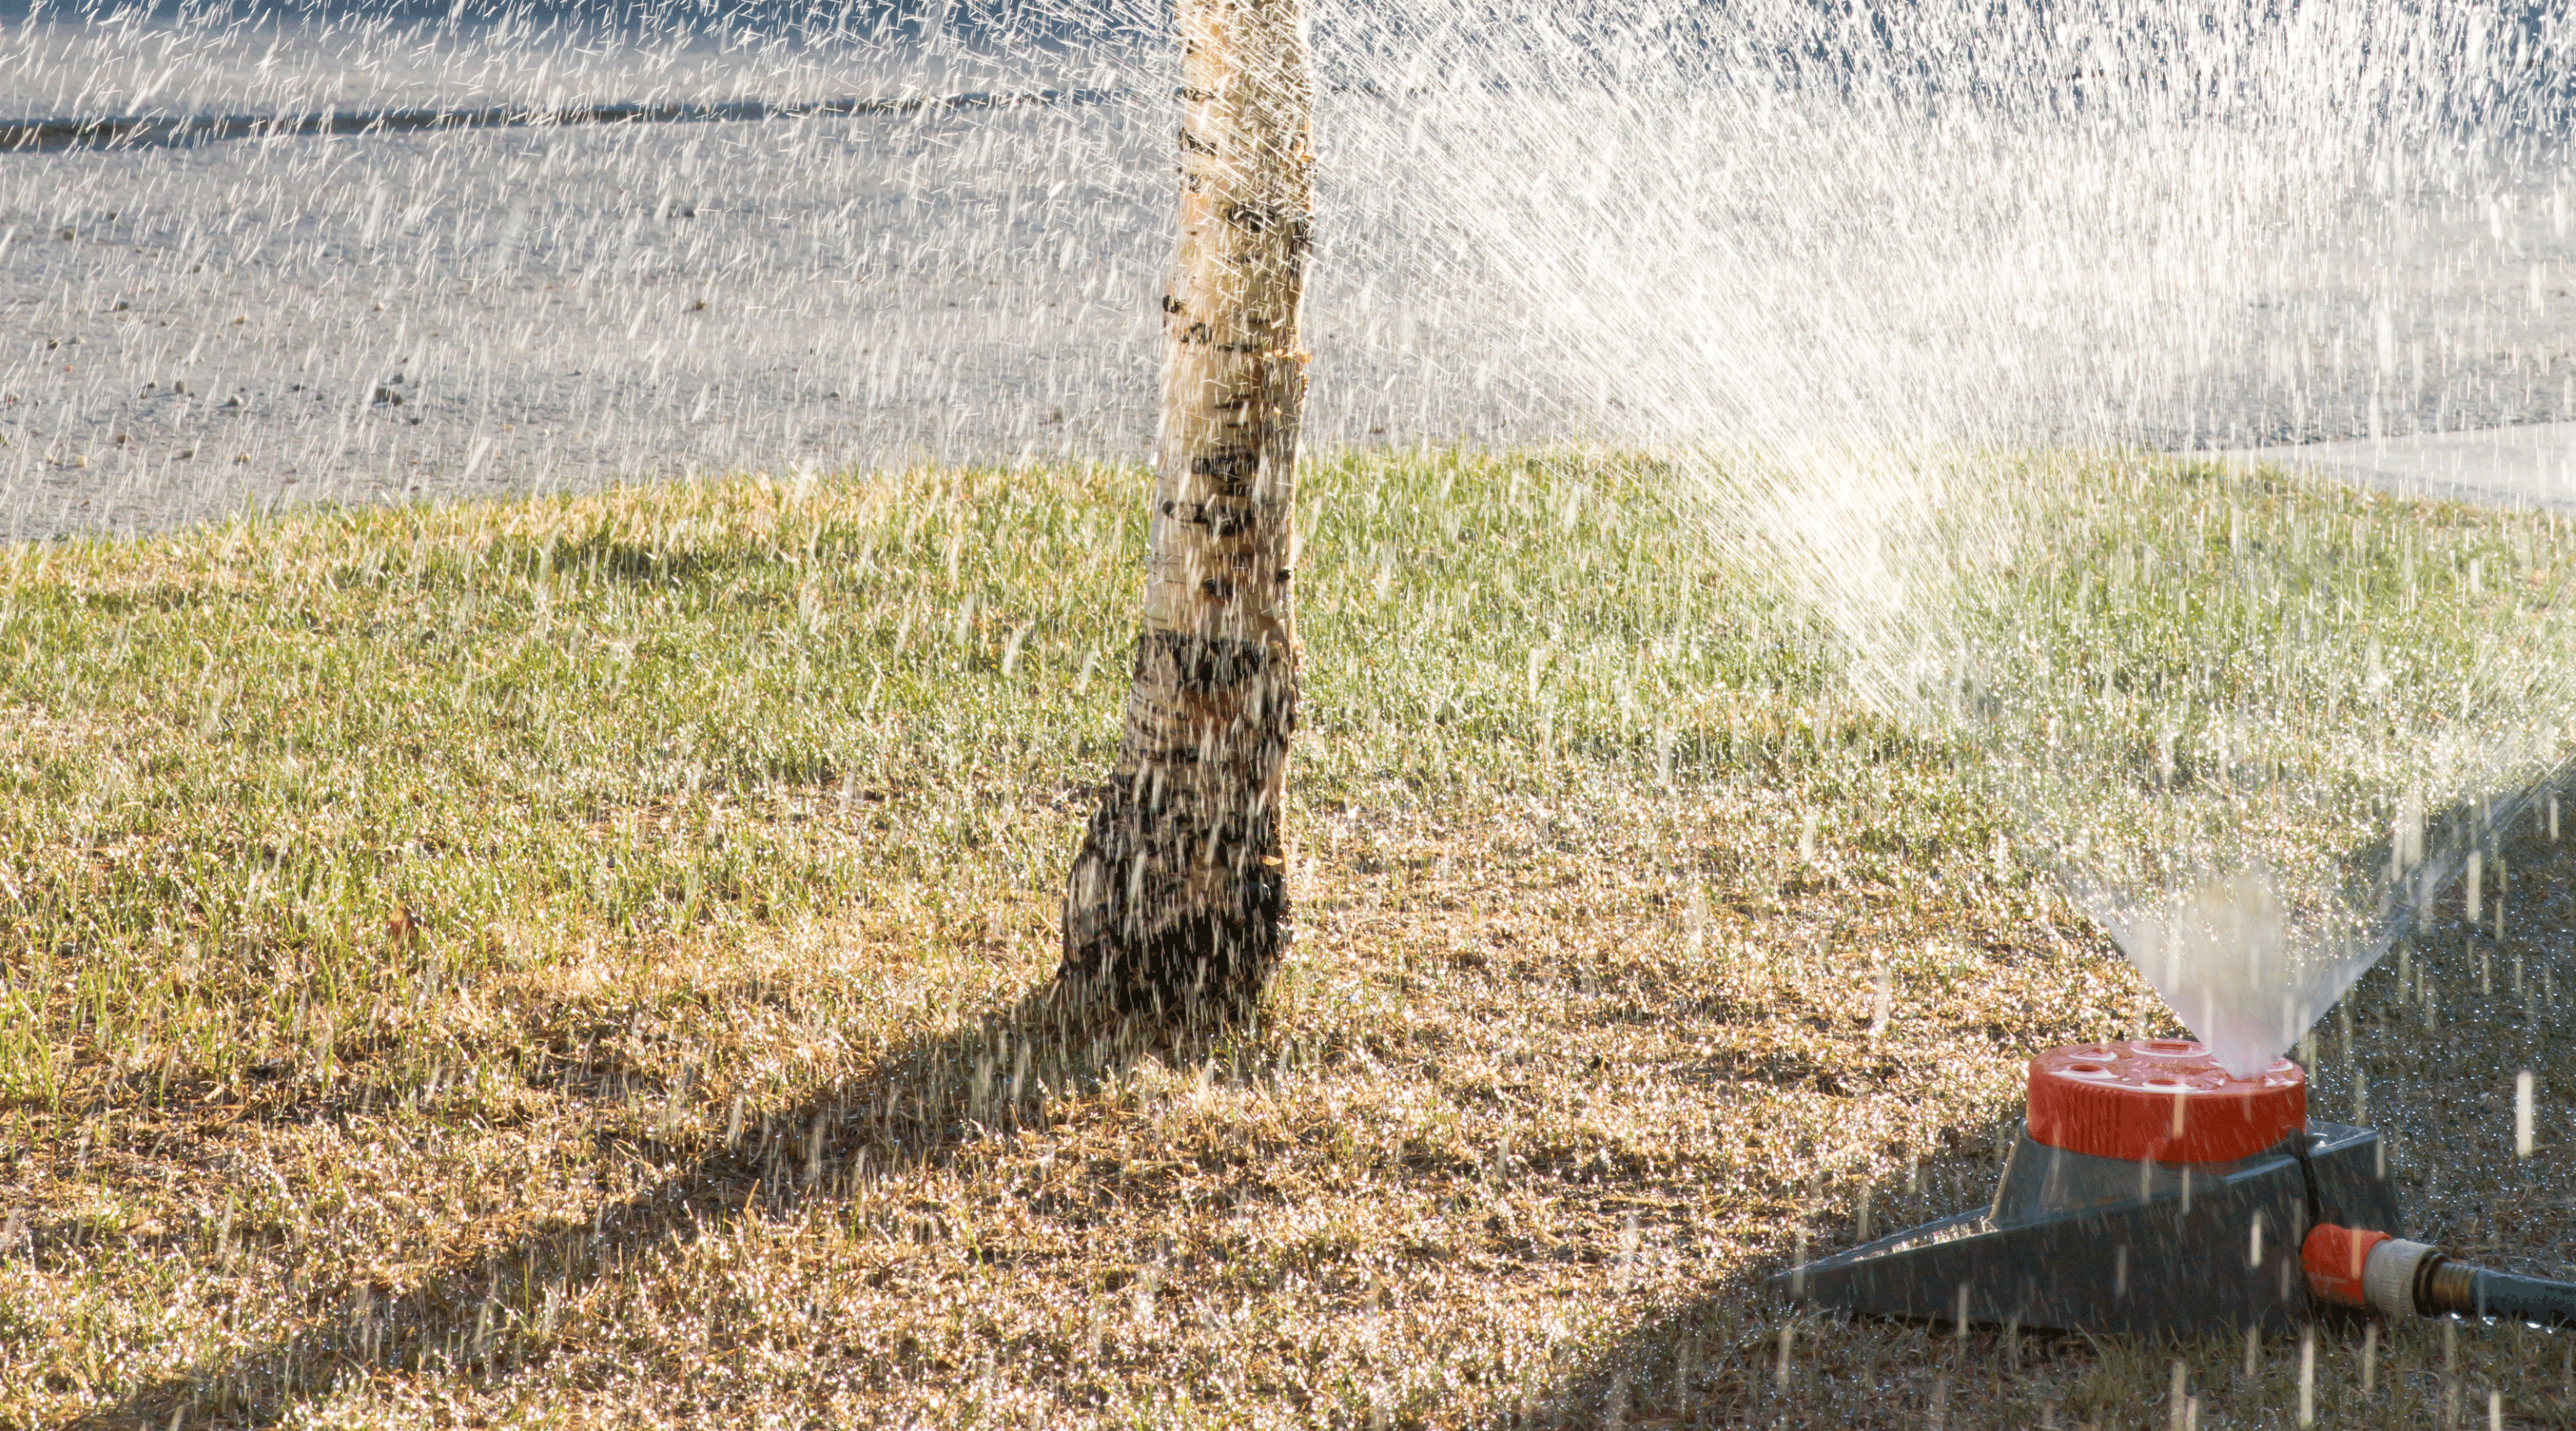
Our often dry, windy winters here on the Front Range can be especially tough on landscaping plants such as perennials, trees, shrubs, and lawns. Most plants need moisture throughout the winter to prevent root damage, so developing a winter watering schedule can help to protect your landscaping.
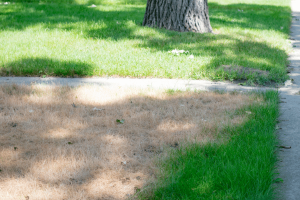
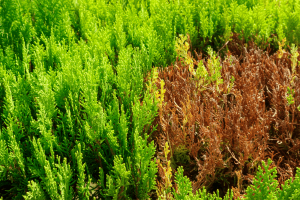
If roots are damaged over the winter, the “winter kill” is not obvious until summer. A plant or lawn may green up nicely in the spring, but in the first hot days of summer, a plant with damaged roots will struggle to take up enough water. This affects the health of the entire plant and can result in the browning of foliage (especially in evergreens and lawns). A weakened plant is more susceptible to pest and disease damage, and in severe cases, the entire plant may die from winter kill. Because our winters often lack consistent precipitation, many plants will benefit from supplemental winter watering.
What plants benefit from winter watering?
Nearly all plants will benefit from winter watering. However, the following plants are especially sensitive to drought injury throughout the winter.
- Recent Transplants
- Plants that are less established have smaller root systems and need more supplemental water to thrive.
- According to Colorado State University Extension, trees take one year to establish for each inch of trunk diameter at planting.
- Bare root plants take longer to establish than container plants.
- Plants transplanted later in the season take longer to establish.
- Evergreens
- Because evergreens retain their needles, they still transpire throughout the winter. Without adequate soil moisture to replace this water loss, evergreens are at a higher risk for winter burn.
- Evergreens at highest risk include arborvitae, boxwood, fir, Manhattan euonymus, non-native pines, Oregon grape-holly, spruce, and yew.
- To help limit desiccation, some evergreens can be treated with a product such as Wilt Pruf® or Bonide Wilt-Stop®. Read the product label for uses and instructions.
- Deciduous Trees and Shrubs with shallow root systems
- Woody plants with shallow root systems are more likely to dry out because they cannot pull water from deep in the ground.
- These include alders, European white and paper birches, dogwoods, hornbeams, lindens, mountain ashes, willows and several varieties of maple including Norway, silver, red, Rocky Mountain, and hybrid maples.
- Herbaceous Perennials and Ground Covers
- Even established perennials and ground covers can suffer from winter kill, especially those without wind protection and those with south or west exposures that experience more freezing and thawing.
- Lawns
- Newly established lawns are especially at risk for winter kill as well as those with south or west exposures.
When should I winter water?
Most plants will benefit from winter watering from October through March.
According to Colorado State University Extension, water one to two times per month during dry periods without snow cover. Windy or sunny sites (those with south or west exposures) dry out quicker and will require more water.
Only water when air temperatures are above 40°F and the soil is not frozen or covered in snow.
Water mid-day or earlier to ensure the water has time to fully soak in before freezing at night. Test soil moisture before watering by inserting a probe or screwdriver into the soil. If the screwdriver goes in easily, watering is not necessary. However, if it is difficult to push the screwdriver in after a few inches, watering is necessary.
What is the best way to apply water during winter?
While water can be applied by hand, typically it is most efficient to water with a soaker hose, drip hose or sprinkler that attaches to a hose. (Do not use an in-ground sprinkler system as these should stay winterized until spring.)
Trees can also be watered using a deep-root fork or needle that is inserted no deeper than eight inches into the soil in multiple locations throughout the dripline and outside of it. As with watering in the summer, it is important to allow water to slowly soak into the soil. This results in deeper penetration and prevents runoff. For trees, water should penetrate to a depth of 12 inches.
How much water do my plants need?
Mulch is crucial to helping soil retain moisture. The following recommendations assume that all plants have at least two inches of mulch. Keep in mind that most sprinklers deliver approximately 2 gallons of water per minute.
Trees
- Apply at least 10 gallons of water for each diameter inch of the tree
- Water once a month (twice a month for newly planted trees)
- Water from the edge of the branches halfway to the trunk, and then two to three times that distance from the edge of the branches outward
Shrubs
- Newly Planted: Apply at least 5 gallons of water twice a month
- Small, established (less than 3 feet tall): Apply at least 3 gallons of water once a month
- Large, established (more than 6 feet tall): Apply at least 10 gallons of water once a month
- Water within the dripline and around the base
Herbaceous Perennials
- Water requirements vary based on level of establishment and size of the plant
- As a general guideline, apply half the amount of water that would be applied in a typical summer watering session once a month
Lawns
- Water lawns if there has been no precipitation for three weeks and the lawn has a south or west exposure
- Apply half the amount of water that would be applied in a typical summer watering session
Resources
https://water.unl.edu/article/lawns-gardens-landscapes/winter-watering
Fall Perennial Planting
Planting in the fall can save you a lot of money while also giving plants a jump start next spring! Plants that establish strong roots during the fall will come back bigger and stronger in the spring time.
However, fall planting requires careful consideration and attention to detail from the gardener. The trick is to give fall plantings a little extra care to help them get established before the really cold weather sets in.
Here are four things you can do to help your plants get established:
Soil Inoculant
At the time of planting, be sure to use an inoculant specifically formulated for perennials, trees and shrubs. These products will help the plant to start establishing roots before all of the foliage dies back. We recommend using an inoculant over a root stimulator this late in the season so you can avoid giving any extra nitrogen to the plant before it goes in to dormancy.
Mulch
Mulch helps to retain soil moisture while also protecting roots from sudden changes in temperature. We recommend using 3″ of a good quality mulch to keep plants protected. Make sure that mulch does not contact the bark of woody perennials.
Protect Plants from Early Freezes
Keep an eye on the weather and cover the plants when the temperatures dip below freezing throughout September and October. This is most important for perennials. Trees do not need to be blanketed, but bark wrap should be used on all young trees to protect the trunks from splitting during our freezing and thawing cycles. When covering perennials, use heavy fabric or plastic and prop it up so that it is close to, but does not touch the plant (Plastic that touches the plant during a freeze can actually do more damage.) Be sure the covering goes all the way to the ground and cover the edges with soil or mulch so that it will trap heat from the soil.
Water
To support adequate root growth, plants will need to be watered regularly in the fall. Keep your soil evenly moist, but not soggy, through the fall time. Remember to monitor your plants regularly! A plant that crisps up due to lack of water in the fall time is not likely to survive the winter. When the plant goes dormant, they will require less frequent watering, but will also need to be watered throughout the winter. Remember that desiccation is the result of cold weather plus dry soil. For more details on winter watering, visit our Blog.
Forcing Paperwhite Narcissus Bulbs
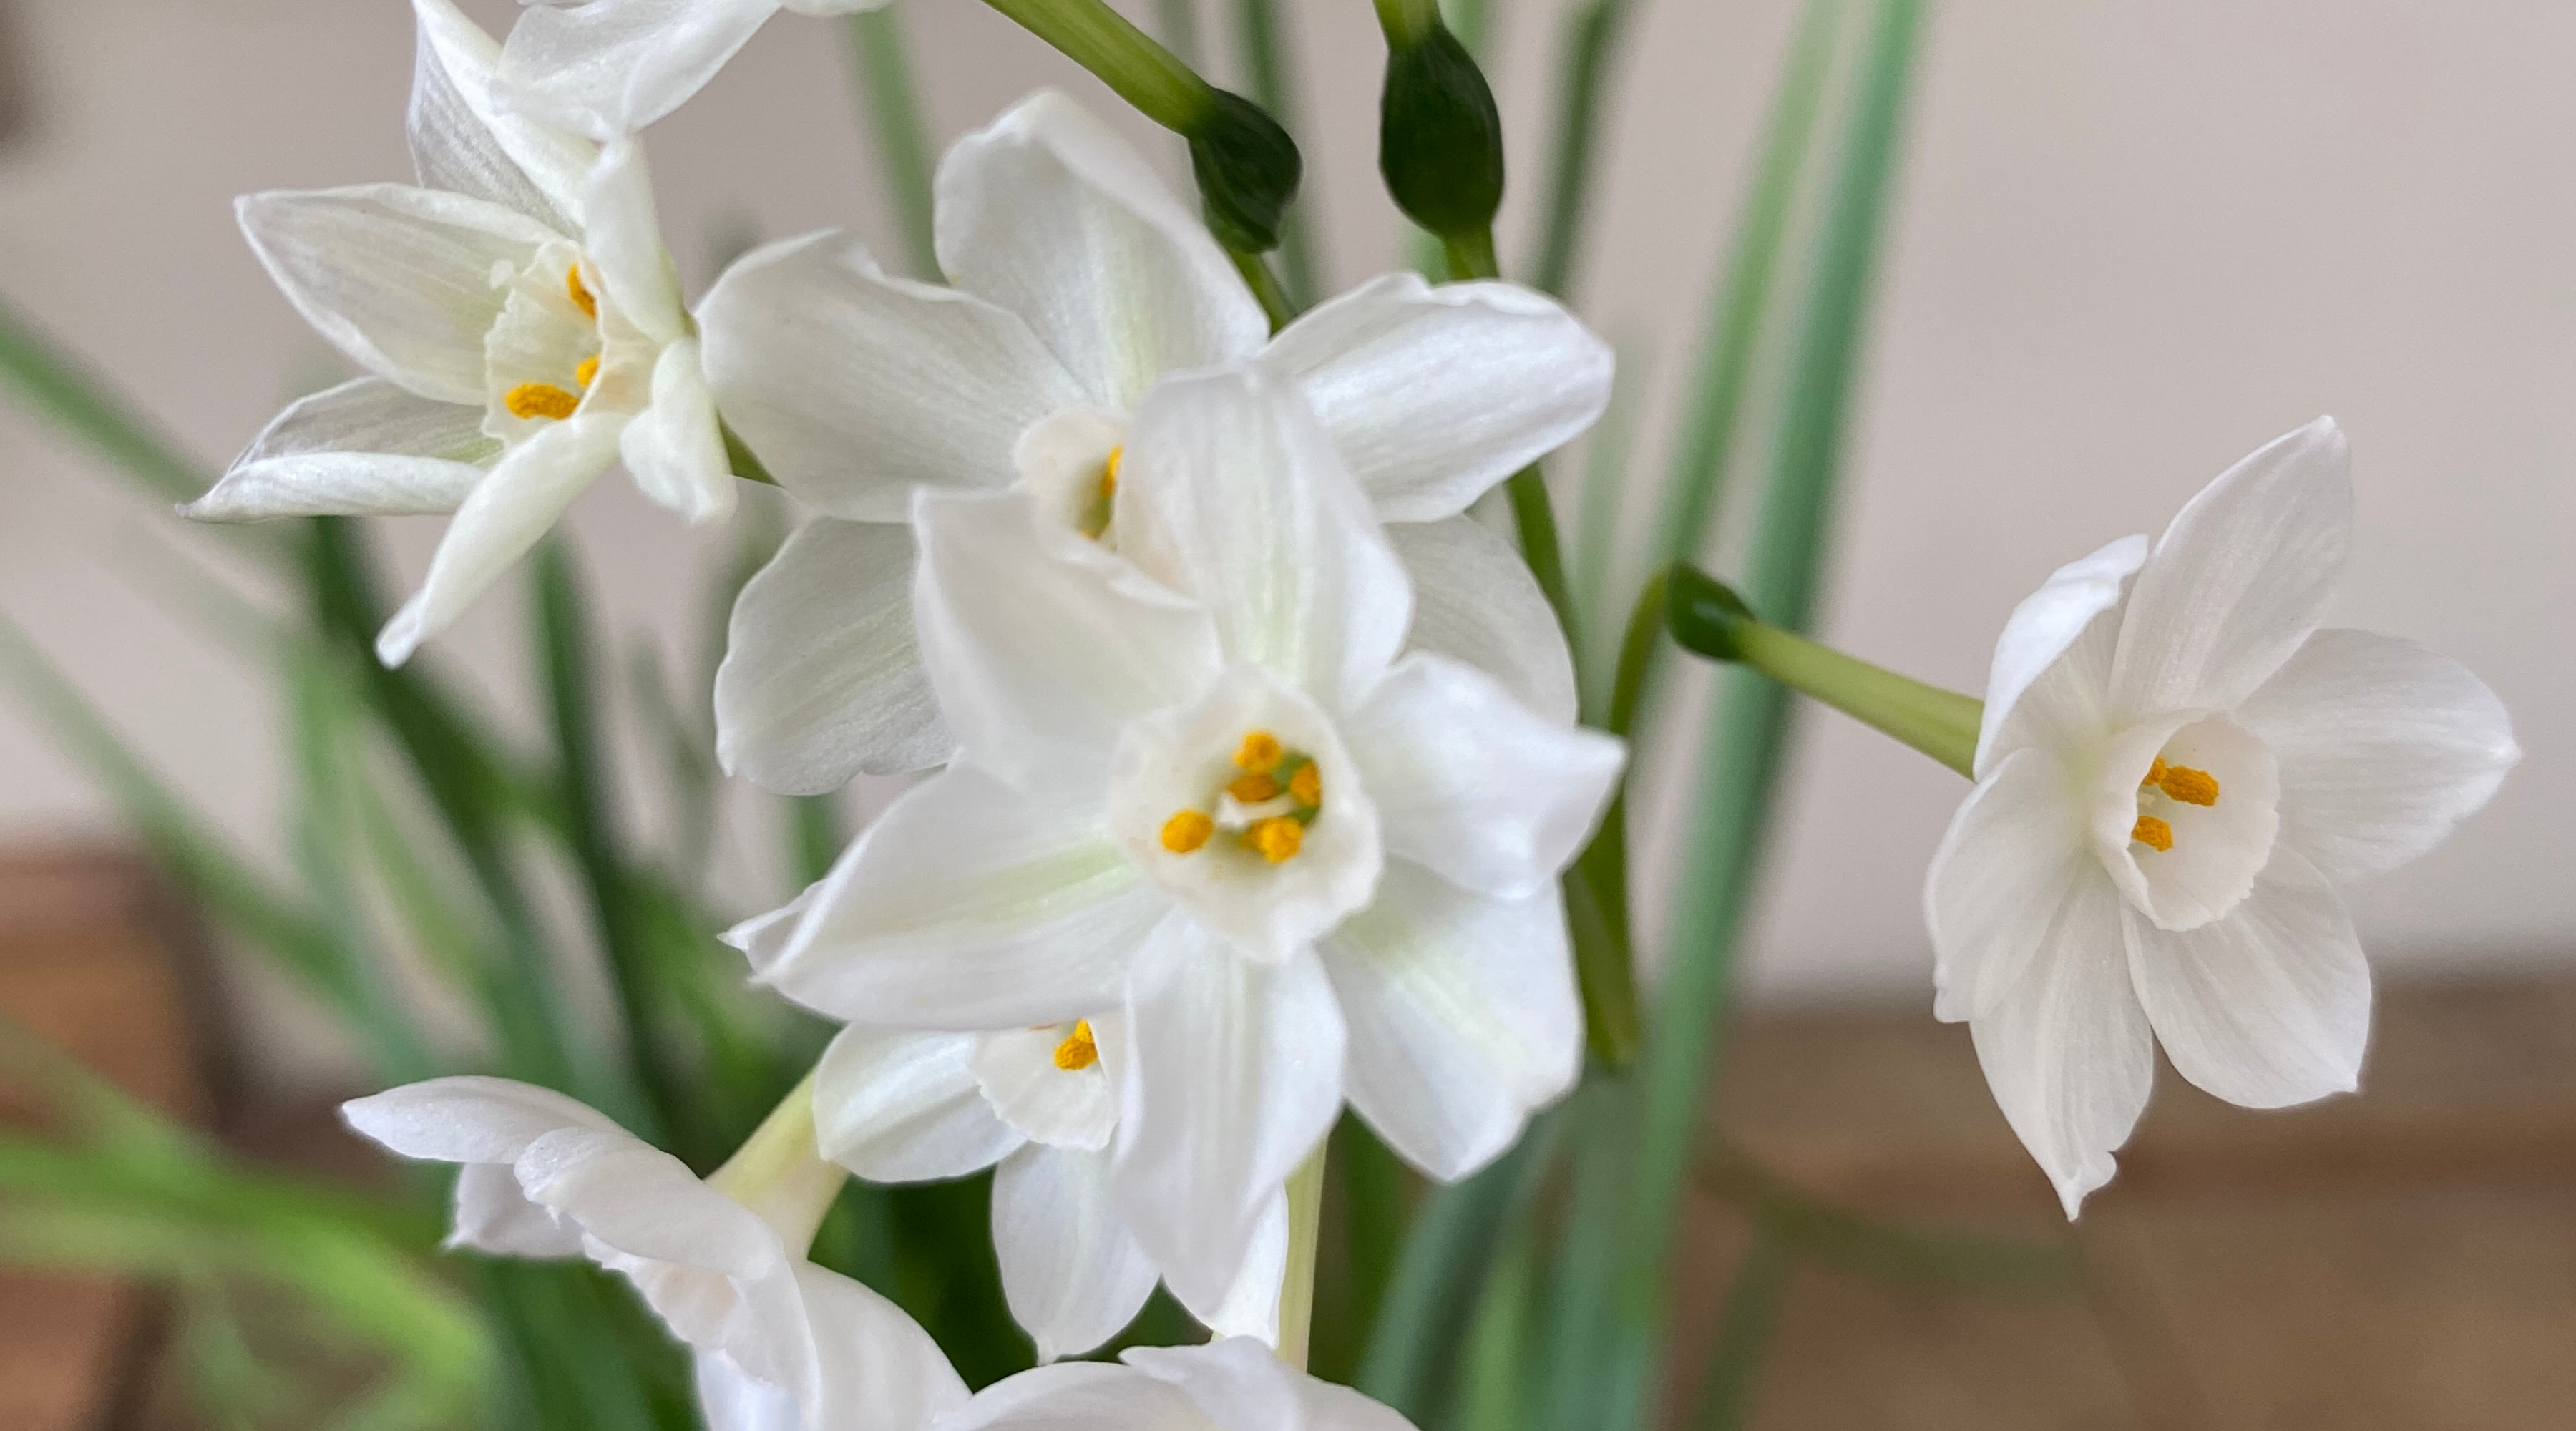
 Flowering bulbs can be forced to bloom indoors, creating a beautiful display of color and fragrance even on the coldest days of winter. Some bulbs require a period of cold treatment to bloom, which can be a little tricky. If you’re new to forcing bulbs, we recommend starting with Paperwhite Narcissus. Paperwhite bulbs do not require a cold treatment and are super easy to bloom in water.
Planting – A Simple Hydroponic Method
- Find a decorative bowl or dish that is 3 to 4 inches deep and holds water
- Fill the dish with about 2 to 3 inches of clean decorative rock, pebbles, pea gravel, perlite, or other very porous substrate leaving about 1 inch of head space at the top of the dish
- Add water until it is just slightly below the surface of the rock
- Set the bulbs on top of the rock with the basal plate (root end) facing down
- Use a little more gravel to cover the bottom quarter of the bulb
- Keep the water level just at the level of the basal plate (too much water will cause the bulb to rot)
- Bulbs typically do best if they are kept in a cooler location (50 to 60 degrees F) in low light for the first 2 to 3 weeks
- Once the bulbs are rooted and shoots appear, bring into direct sunlight and warmer temperatures
- When the flower buds begin to show their color, move the plants into indirect sunlight to prolong the flowers
- Plant new pots every two weeks starting in mid-October to have blooms from Thanksgiving into March.
- Keep bulbs out of reach of pets and children as these plants are toxic if ingested.
- Forced paperwhites will not likely rebloom, so it is best to toss out spent bulbs.
Growing Garlic in the Pikes Peak Region
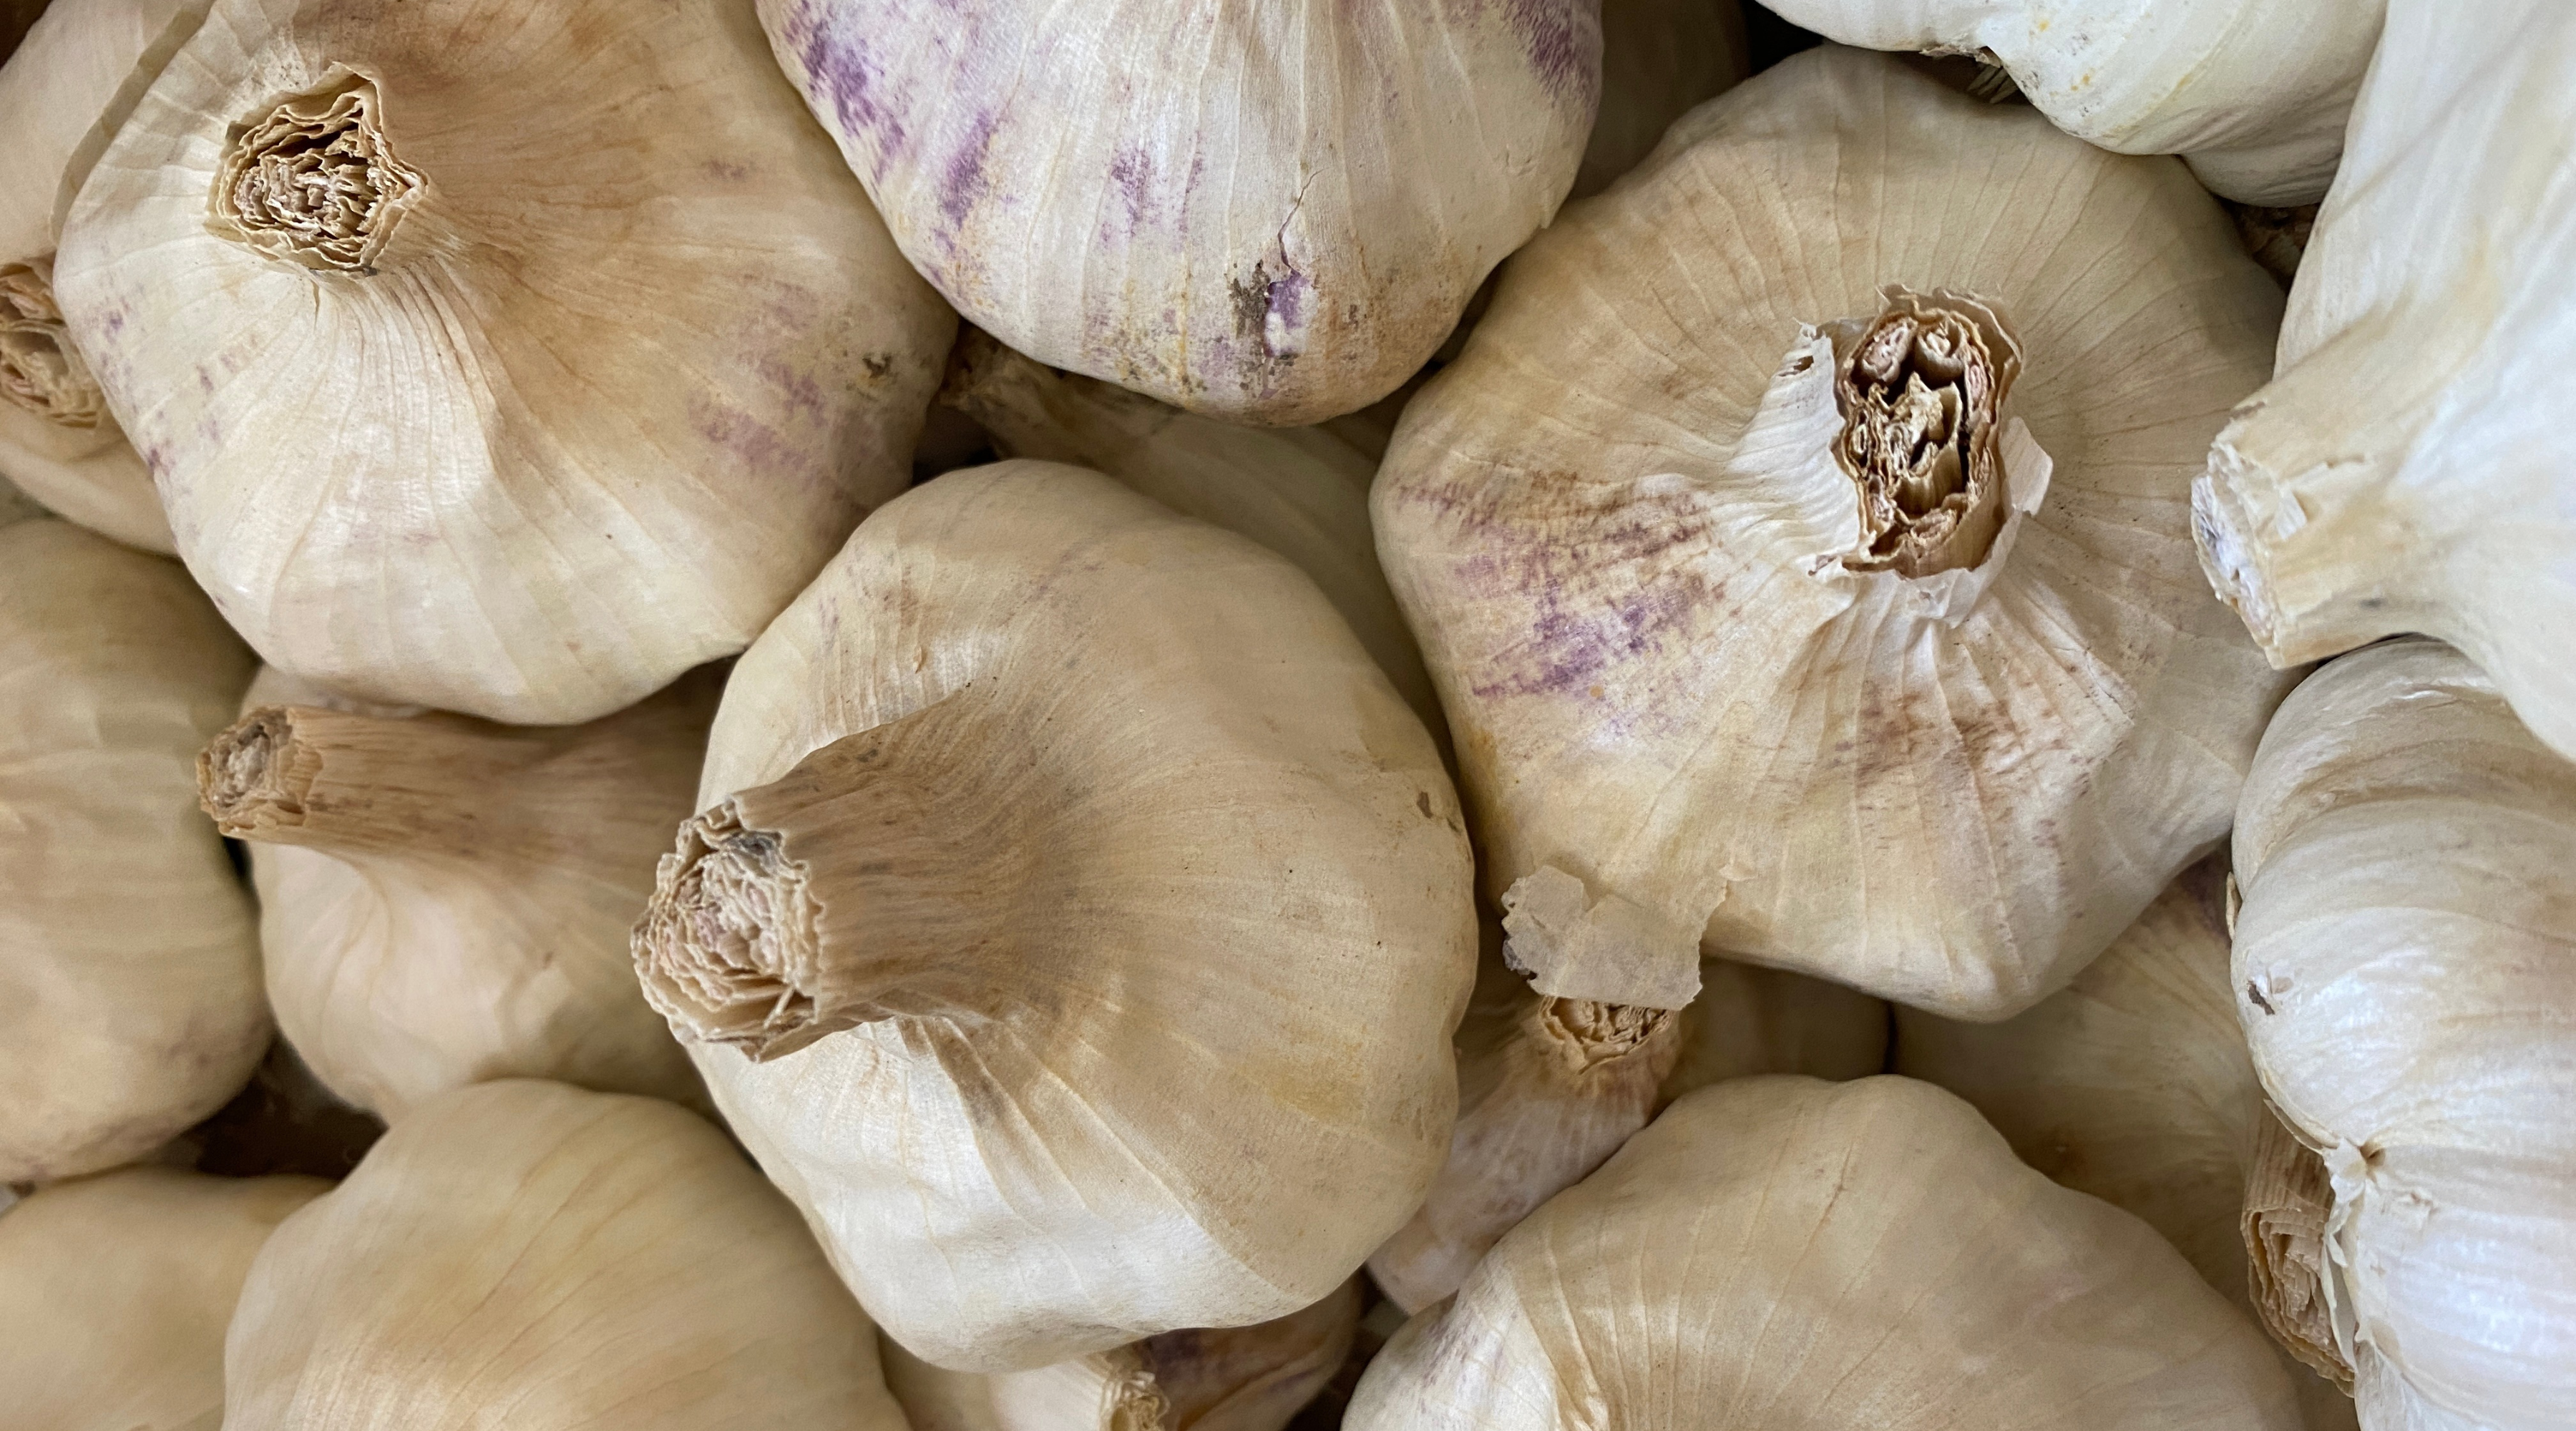
- Garlic cloves are best planted between November and April, although you will generally get a bigger and better crop if you plant in the autumn. If planted between October 1 and November 15, the clove will have a chance to develop some roots before it goes dormant for the winter. Here at Rick’s, we think the ideal time to plant is at the end of October.
- Separate cloves from the bulb and plant root side down (pointed side up) about 2-4 inches deep, 6-8 inches apart in the row and 12-18 inches between rows. A bulb planter used for tulips and daffodils is an excellent tool to get several cloves planted quickly.
- Mulching 6-12 inches of straw or mulch in mid to late November, when the ground begins to freeze, will ensure the garlic will survive the cold temperatures.
- In early spring as the ground thaws, look for the green tips beginning to emerge underneath the you mulch.
- Fertilize in spring with a complete fertilizer such as 10-10-10 (3 lb per 100 sq. feet), or an organic complete fertilizer at roughly twice the rate, as usually they contain roughly half the nitrogen as chemical fertilizers.
- As half of the leaves begin to die-back in July, harvest the garlic by gently pulling on the stalk while prying beneath the bulb with a trowel. The clove you planted last fall will have turned into a multi-cloved bulb. Gently shake off the dirt but do not wash before storage. Don’t wait until all the leaves have died-back or your bulbs will not store well.
- Cure the garlic by hanging in a warm, dry, well ventilated place.
- Give the bulbs another shake after two weeks of curing to remove more soil, cut off the stalks of hardneck varieties and store them in a cool, dry place. For softneck varieties, you can leave the stalks attached if you wish to braid and hang them for ease of use and aesthetics in the kitchen – but you may also cut off the stalks and store them with the hardneck varieties.
- Save some of your biggest bulbs for planting next fall.